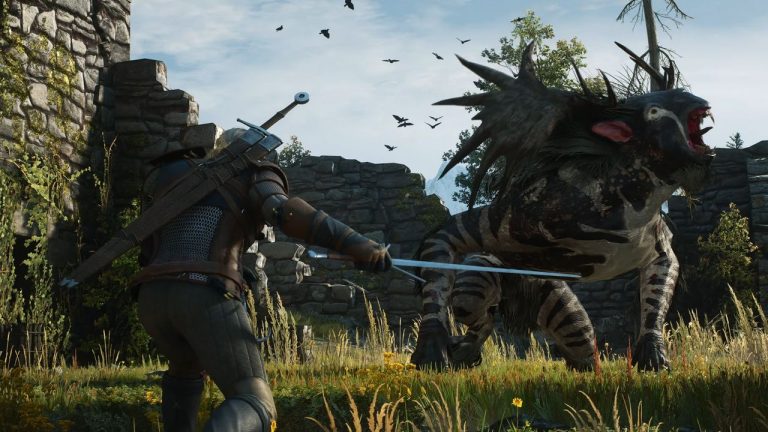

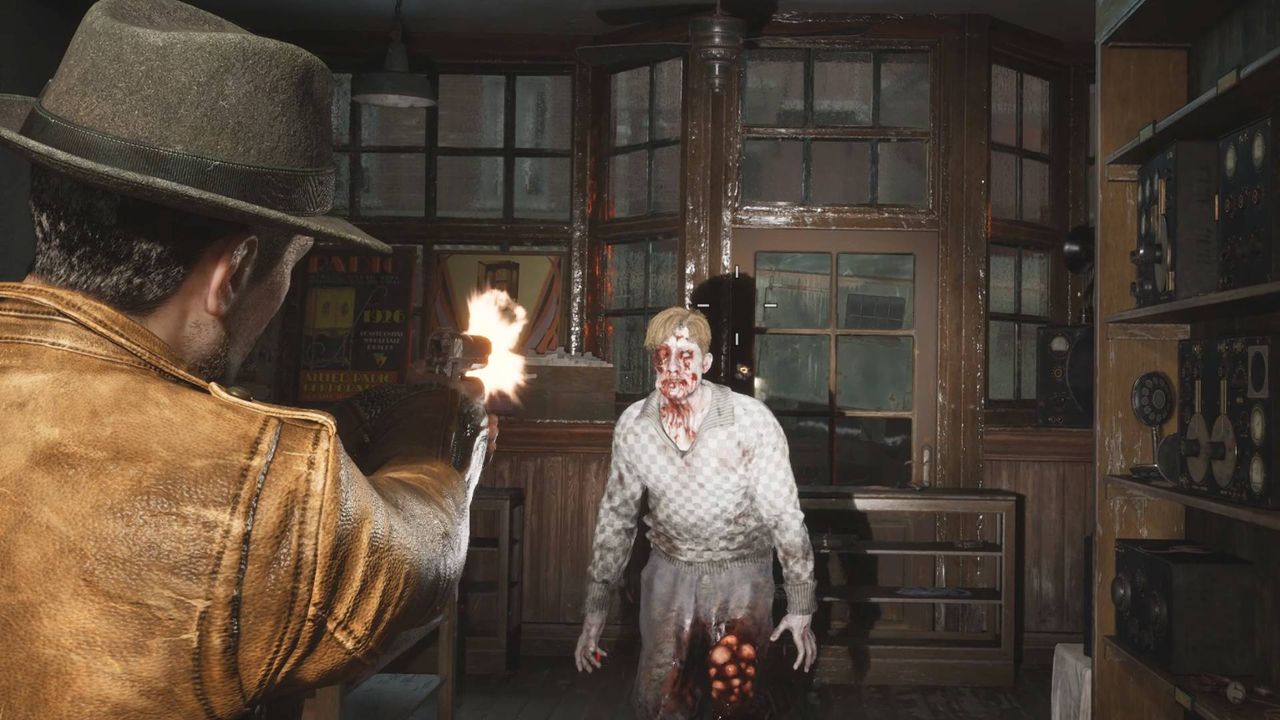
The Sinking City 2, developed by Ukrainian studio Frogwares, has finally arrived, bringing players back to the Lovecraftian horror universe that captivated fans of the original 2019 title. This comprehensive walkthrough covers the entire opening act of the game, beginning with your objective to reach the Miskatonic Library Annex and concluding with the mission to save a woman at the Devil’s Reef Hotel. The first act represents a substantial portion of gameplay, featuring an expansive open city environment that players must navigate primarily by boat, moving between flooded urban locations while solving puzzles, collecting notes, and battling otherworldly creatures. Frogwares has built upon their experience with detective-horror games, previously developing the Sherlock Holmes series, to create an atmospheric experience that blends investigation mechanics with survival horror elements.
Starting Your Journey: The Apartment and Miskatonic Library
After the opening cinematic concludes, players find themselves in an apartment filled with crucial documents and story elements. On the desks, you will discover the “Excerpt From The Dream Realm” and “About The Mask” notes, while the kitchen contains a “Final Warning!” document and another room houses the “Restricted Section Inventory” note near a painting. While additional items throughout the apartment provide narrative context, none are essential for progression, allowing players to explore at their own pace or proceed immediately. The investigation system in The Sinking City 2 rewards thorough exploration, as collecting notes and connecting related clues in the Investigations tab earns upgrade points that enhance your character’s abilities throughout the game.
Upon exiting the apartment, the Miskatonic Library becomes visible from the balcony, establishing your first major objective. Descend the fire escapes to locate a boat and navigate through the flooded streets until reaching a closed gate. A jetty to the right provides a docking location, and a window marked with a white sheet offers entry into a building that leads to the opposite side of the gate. The gate mechanism requires fuses, which the adjacent Fuse Box indicates you lack. Progress to your first Safe Room, where you can save your game, store items, and unlock abilities. The Gate Switchboard note on a nearby counter directs you to the Allen Radio Store across the street for the necessary fuses.
The Allen Radio Store displays “Est 1908” on its signage, a detail worth remembering for an upcoming puzzle. Though you cannot immediately enter, observing through the window confirms the fuses are inside. Navigate around a large hole in the road to find an open white door leading to a building interior. Inside, an office on the right contains a map, and upstairs in Apartment 5, you will encounter a safe with a “To Martin” note indicating the combination relates to someone’s “proudest, most miraculous moment.” The solution is 1908, the year the radio shop was established. After solving this puzzle and collecting items, enemies appear but can be avoided by running. Apartment 6 contains a hole leading to the room below, where you will find the “Gate Fuses and Wire” note that connects to your investigation.
Solving the Gate Puzzle and Reaching the Library Annex
The Radio Shop contains the fuses you need, accessible after pushing aside shelves blocking a door. Combat in The Sinking City 2 follows survival horror conventions where enemies feature glowing weak points that deal additional damage when struck. However, defeating monsters yields no rewards, making avoidance often the wiser choice. Return to the Gate Fuse Box with your collected fuses and solve the wire-connecting puzzle: use the straight fuse to join two blue wires, the T-shaped fuse for the three yellow and green wires, and the right-angle fuse for the two red and orange wires. Remember to validate the connection before pulling the lever to open the gate.
Continue by boat until an explosion blocks your path at another gate. Dock at the left jetty, collect the “Lost Letters – Death Awaits” note near the stairs, and enter the damaged building. Ascending the stairs triggers a chase sequence requiring you to run through the building until you can jump and open the gate. Travel a short distance to another jetty and dock, triggering a cutscene that transitions the narrative. The Miskatonic Library Annex awaits, filled with documents, enemies, and mechanical puzzles that deepen both the story and your investigation progress. Inside the library, you will encounter creatures, solve handle-turning puzzles, and eventually locate the Restricted Section containing a glowing red book that advances the plot significantly.
The library section introduces several gameplay mechanics including finding items in yellow boxes, drawers, and cupboards scattered throughout environments. The game dynamically adjusts item placement based on player needs rather than fixed locations, ensuring you generally have access to necessary supplies. After obtaining the mysterious book from the Restricted Section, screaming alerts you to a new objective. Push aside drawers to access a new door, navigate past red-painted doors until reaching Corentin, who provides context for your next mission: saving a woman at the Devil’s Reef Hotel.
The Church, Obelisk Puzzle, and Floodgate Mechanics
Following Corentin’s introduction, locate a nearby Safe Room containing the “ERC User Manual” note and the ERC Activator Pen, which functions as a key for Emergency Relief Crates scattered throughout the game. These crates typically contain valuable upgrades, making the pen an essential tool. Navigate to a church via boat, where you will encounter the Floodgate puzzle and the complex Obelisk ritual. The church area introduces Night Ore, a resource that charges the Nightshade Mask obtained at the game’s start, providing a revival ability upon death. Various notes around the church, including “A Call Upon Believers” and “Origins of the Redemption Church,” provide puzzle solutions and narrative depth.
The Floodgate Lock combination puzzle requires the year 1672, derived from multiple notes explaining that while the church was founded in 1667, the bell took another half decade to craft and install. The Obelisk puzzle demands more complex reasoning, using the “Call Upon Believers” and “First Vision” notes to determine correct symbols representing gods from the depths to the heights: Cthylla (Splayed Womb), Gyrh (Spearhead), Tsog-Nar (Crooked Cross), and Yig (Serpent Form). After correctly arranging symbols and waiting for lightning to charge the Trident, you must transport to another dimension by placing the charged Trident on its stand, then complete a small boss encounter to progress.
Throughout the church area, you will collect Printing Plates for an optional side quest involving a printing press that yields either Dream Essence upgrade points or a shotgun modification. The Star Key opens additional areas containing crucial items and notes. Enemy encounters become more frequent and dangerous, making strategic use of environmental hazards like traps and gas cans essential for survival. The Talent system allows you to spend Dream Essence on abilities, with early recommendations including Carapace of the Damned for damage reduction or Profane Reload for faster reloading.
The Crane Puzzle, Fire Station, and Printing House
After completing church objectives, progress requires moving a whale blocking your water route using a crane that needs both gasoline and a gear to function. These components are located in separate areas: the gear in a Printing House accessible via the Church graveyard, and gasoline in a Fire Station ahead. The Saloon near the whale contains a Safe Room, a shotgun you will retrieve later, and notes connecting to your investigation. The order of component collection is flexible, though completing the Printing House first allows you to later collect an upgrade without additional backtracking.
The Printing House section introduces APH-marked doors requiring a specific key found deeper within the building. New enemy types appear, including creatures that shoot from glowing facial orifices, requiring precision targeting of their brightest points for maximum damage. The gear sits behind a locked door accessible only with the APH key, and collecting it triggers significant enemy spawns. An ERC crate in this area provides an inventory upgrade, though reaching it while surrounded by enemies requires careful movement and resource management.
The Fire Station presents its own challenges, with electrified floors blocking access to gasoline and a lever that triggers large-scale enemy attacks when activated. Strategy involves pulling the lever and immediately sliding down the fire pole to reach the fuel before enemies overwhelm you. Both locations contain Printing Plates for the optional printing press puzzle. Once you have both components, return to the crane, install them, and manipulate the mechanism to move the whale. The printing press puzzle requires flipping plates to make all surfaces either silver or gold, with the gold configuration rewarding the Cutter’s Study Stock shotgun upgrade for increased backstab damage.
Devil’s Reef Hotel: The Final Challenge of Act One
The Devil’s Reef Hotel represents the culmination of the first act, featuring multiple floors of puzzles, enemy encounters, and investigation connections. Upon arrival, you meet Lorelei, who explains the situation through a cutscene. The hotel contains numerous locked Staff Rooms, silver Lorelei Chests requiring special tokens, and a three-key Lorelei Lock in the basement. The Room 301 safe code (2137) comes from song lyrics referenced in notes: two wings like a bat, one curled tail, three octopus hearts, and seven deadly sins. Solving this provides the Voss’s Target Grip for enhanced precision damage.
Navigation through the hotel requires careful exploration of all accessible rooms while collecting notes, items, and keys. The Staff Key obtained from a fallen body unlocks Staff Rooms containing Lorelei Tokens needed for the silver chests. Each chest yields a key for the Lorelei Lock, and connecting related notes in your Investigation tab provides upgrade points throughout. Enemy encounters intensify on upper floors, with ambushes triggered by attempting to collect certain items. The hotel’s interconnected layout requires unlocking shortcuts to facilitate backtracking while avoiding unnecessary combat.
This concludes the first act of The Sinking City 2, establishing core mechanics including investigation connections, puzzle-solving, resource management, and strategic combat avoidance. Players should proceed to the hospital section for the next phase of the adventure, carrying forward their accumulated upgrades and investigative knowledge. The Sinking City 2 builds upon Lovecraftian horror traditions while incorporating modern survival horror gameplay, creating an experience that rewards thorough exploration and careful attention to environmental storytelling.
Expert Opinion: The Sinking City 2’s opening act demonstrates Frogwares’ refined approach to detective-horror gameplay, with the investigation connection system providing meaningful rewards for thorough exploration. Players who master the balance between combat avoidance and strategic engagement will find themselves better prepared for the increasingly challenging encounters in later acts. The optional Printing Press side quest exemplifies the game’s rewarding approach to completionism, offering tangible upgrades that significantly impact combat effectiveness throughout the remainder of the experience.